Kit PVP FFA Mace PvP Guide
Height, smash timing, wind charges, and elytra combos that win free-for-all fights.
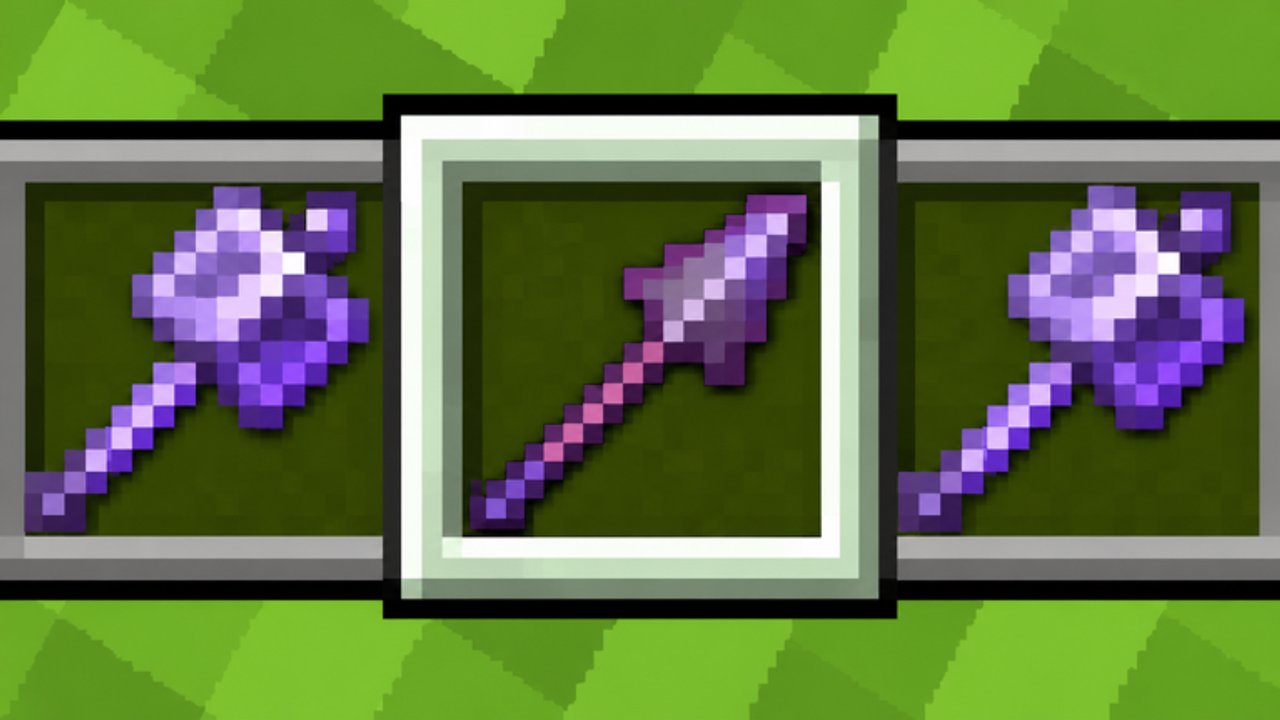
Mace PvP is the vertical identity of Kit PVP FFA. Instead of winning every trade on flat ground, you create height, fall with intent, and let smash knockback delete clustered fighters. This guide covers smash fundamentals, wind charges, elytra mace combos, the Mace and Mace & Spear kits, and how the rest of the lobby should counter you.
Prerequisite reading: Combat Basics for cooldown and crits, Controls for hotbar and F5 camera, and Kits for roster context. Compare strength with the Tier List after patches.
What makes a mace smash work
A smash is a committed falling attack from meaningful height. The checklist before you jump:
- Cooldown ready — a half-charged aerial swing wastes the whole setup.
- Target locked to a predictable spot — bridging players, gapple animations, and crystal placers are ideal.
- Escape plan — pearl, wind charge, remaining blocks, or elytra boost after the hit.
- Third-party scan — use third person to ensure you are not diving into two bow users.
Smashes shine in FFA because knockback can separate a 1v2 or yeet someone off a broken bridge. They fail when you dive blind into Orbital Strike zones or pre-aimed Archers.
Building height on a ticking map
The arena can be built and bridged, then resets every five minutes. Mace players should treat the reset clock as part of their kit:
- Early cycle: scaffold towers, diagonal bridges, and perch points.
- Mid cycle: fight from existing structures; steal enemy towers with pearls.
- Late cycle: stop investing; use wind charges and elytra instead of blocks that are about to vanish.
If your entire plan requires a twenty-block tower thirty seconds before reset, change the plan. Flat-ground mace is awkward — rotate kit or play spear pokes until the next cycle.
Wind charges: pocket verticality
Wind charges give sudden launches without a full tower. Strong patterns:
- Re-launch after a smash so you are not stuck on the floor next to the victim’s teammates.
- Dodge horizontal pressure by popping up when a Sword user closes.
- Reach bridge undersides or ledge perches quickly.
- Fake a smash — launch, hold, and force the opponent to waste a pearl before you actually commit.
Do not burn every wind charge on stylish hops. Keep one for the exit. Inventory order tips live on Controls.
Elytra mace combos
The Elytra & Rockets kit exists partly so aerial mace fantasy is real. Even when you are on pure Mace, understanding elytra threat models helps. Combo outline:
- Gain sky with rockets or a high bridge.
- Angle a dive toward a grouped or healing target.
- Time the mace smash for the end of the dive when cooldown is full.
- Rocket or pearl out before the lobby collapses on the landing zone.
Common mistakes:
- Diving with empty rockets and no pearl.
- Smashes that hit shields without a follow-up plan.
- Tunnel vision on one kill while an Archer tracks your flight path.
- Landing in your own TNT/crystal friendly fire if you just swapped kits mentally but not literally.
Cross-train mobility habits from the Elytra profile on Kits, then return here for smash timing.
Kit focus: Mace
Mace is the purist smash kit. Your job is height generation, clean commits, and multi-target knockback in clumps.
Openers: tower above a busy lane; wind charge onto a roof; pearl to a ledge and drop.
Midfight: after the first smash, decide instantly — finish the low target, or leave because two players turned. Greedy second swings on full HP tanks are how mace mains donate streaks.
Cleanup: Sword-range follow-ups still need full cooldown hits. The mace does not excuse panic clicking after you land.
Kit focus: Mace & Spear
Mace & Spear adds spear lunges for approach and poke. Use the spear when:
- The enemy kites outside smash range.
- You need to punish a turtle shield without giving a free bow angle.
- You are on low height and must create space before rebuilding.
Use the mace when:
- You earned two-plus blocks of fall advantage.
- Targets are stacked for splash knockback.
- An elytra user is forced to land near you.
The hybrid fails when you lunge into a crystal setup or smash from one block of height for no gain. Swap intentionally; every wrong tool costs a cooldown beat.
Counters: how to beat mace players
If the lobby is full of smashers, answer with structure denial and air control:
- Archer — pre-aim common dive paths; chip elytra users before they commit.
- Sword — hold safe ground under cover; shield the readable smash; pearl laterally, not straight down the same bridge.
- TNT / End Crystals — delete towers and landing pads; force mace players onto flat terrain. See Crystal PvP.
- Orbital Strike — punish clusters waiting under a popular perch.
- Everyone — look up. F5 third person exists for this.
Hard counters are less about one magic kit and more about refusing to stand still under known jump spots.
FFA-specific mace macro
Killstreaks, bounties, and Super Mode make you a fireworks show. Adjust:
- Take smashes on isolated targets first.
- Avoid diving the middle of a five-player pile unless you have two exits.
- After a public multi-knockback, leave — you just pinged every third party.
- Spend gapples before the dive if the commit will take time.
- Totem pops are a signal to reset height, not to immediately re-dive the same angle.
Progression still goes through level 200 into Prestige, and crates up to Divine cosmetics do not replace timing reps. Keep Updates open after balance changes that touch mace damage, wind charges, or elytra rockets.
Practice plan (one session)
- Ten tower smashes on distracted edge players — focus cooldown readiness only.
- Ten wind-charge re-launches after landing — survive the next three seconds.
- Ten spear-lunge → disengage reps on Mace & Spear without forcing a smash.
- Five elytra dives (on Elytra kit) where you leave alive whether or not the kill lands.
- Review deaths: how many were third parties you never looked at?
Then rotate back to Sword for ten lives so your grounded cooldown timing does not rot. Browse Getting Started if your lobby routine is still messy, claim Codes when live, and use Wiki / Players for community links.
Mace PvP rewards patience disguised as aggression. The smash looks loud; the good players spent five quiet seconds earning height, checking flanks, and confirming cooldown before anyone heard the hit.
Frequently Asked Questions
Quick answers for Kit PVP FFA players.
What is the most important rule before a mace smash?
Have a full attack cooldown, a clear target, and an exit (pearl, wind charge, blocks, or rockets). Blind dives into groups get you third-partied.
How do wind charges help mace players?
They create instant height for smashes, help you re-launch after landing, and provide escape verticality when towers are gone near a map reset.
What is the difference between Mace and Mace & Spear?
Mace focuses on pure smash setups. Mace & Spear adds spear lunges for approach and poke when you lack height or need to punish kiters.
How do I counter elytra mace combos?
Track flight paths with Archer or third-person camera, delete landing pads with TNT or crystals, and pearl sideways instead of standing under the dive.
Should I keep building towers right before the map resets?
No. The map resets about every five minutes. Late-cycle mace play should rely on wind charges, stolen height, or kit swaps instead of heavy builds.