Kit PVP FFA Crystal PvP Guide
Place, detonate, survive — End Crystal fundamentals built for 20-player FFA, not quiet 1v1s.
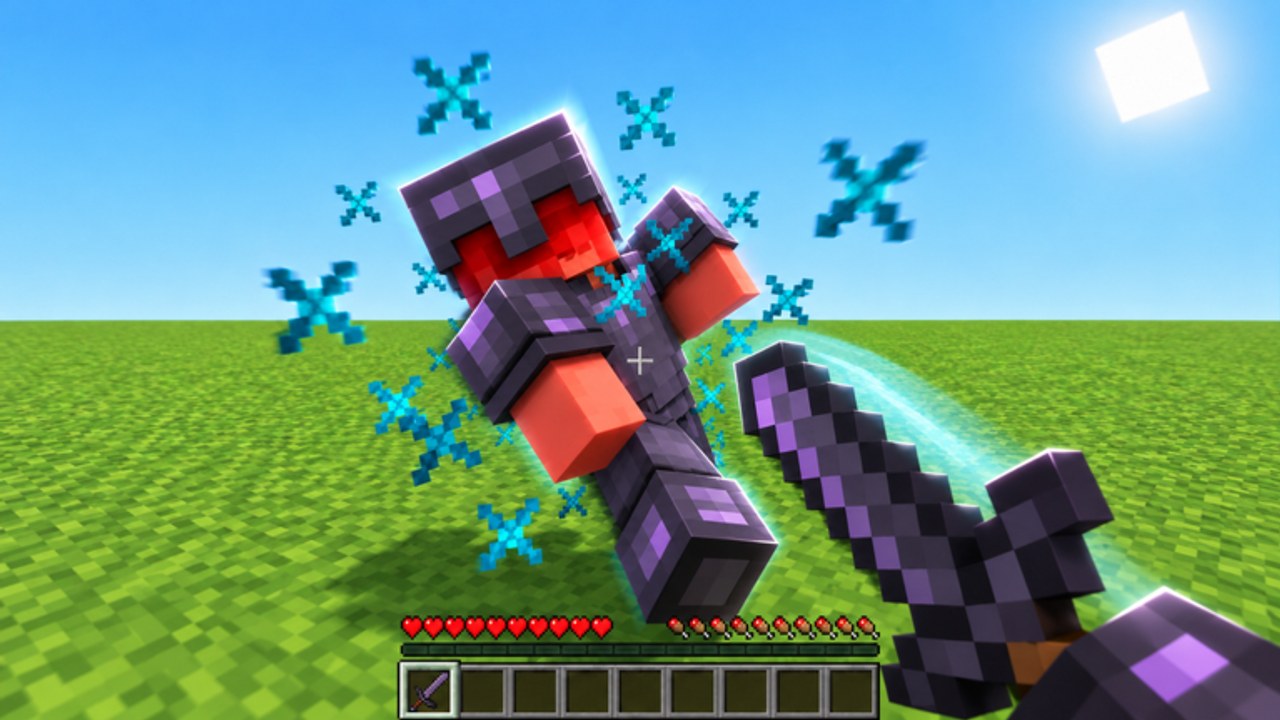
End Crystals are the highest burst option in Kit PVP FFA and the easiest way to delete yourself if your timing slips. Crystal PvP here is not a private duel server — it is a twenty-player free-for-all with buildable terrain that resets every five minutes. This guide covers the End Crystals kit, placement logic, detonation timing, respawn anchors, totem play, and risk management so your explosions hit enemies more often than your own hitbox.
Prep with Controls (hotbar must be flawless), Combat Basics (cooldown still matters for finishers), and the roster overview on Kits. Rankings shift on the Tier List.
What the End Crystals kit is trying to do
Your win condition is controlled detonations that:
- Finish low targets who just won a sword fight.
- Break mace towers and elytra landing pads.
- Punish clumps around bounties and killstreak farmers.
- Deny bridges before a fifth-party joins.
Your lose condition is placing a crystal when you have no escape, no totem plan, and three spectators already aiming at the blast zone. Treat every place action as a commitment that paints a glowing target on your location.
Placement fundamentals
Good placements share traits:
- Surface you control — a block you just placed or a corner enemies must take.
- Angle that hits them more than you — diagonal and elevated spots often beat feet-crystal suicide.
- Immediate detonation path — if you cannot break/hit the crystal safely, do not place it yet.
- Exit tile — pearl vector or block to step behind after the boom.
Bad placements:
- Crystal at your own toes in a 1v3.
- Crystal on a bridge about to vanish in the map reset.
- Crystal in the open while an Archer hardscopes you mid-animation.
- Double-placing without inventory discipline until you panic-swap into the wrong item.
Practice slow placements at the edge of the map before you try cinematic double crystal chains mid-brawl.
Detonation timing
Detonation is a rhythm skill. Common timings:
- On gapple — enemies pause; your crystal answers the heal.
- On landing — elytra and mace users are vulnerable the frame they touch ground. Pair reads with Mace PvP.
- On clump — when two fighters sword each other, one crystal can decide both.
- On bridge cross — delete the block under a chasing Sword user.
Do not auto-detonate the instant you place if the enemy still has a free pearl beat. Sometimes the threat of the crystal forces a bad pearl, and you detonate the follow-up instead. Other times you must pop immediately because a third party is about to steal your setup.
Keep attack cooldown in mind for punch/break detonations — weak early swings can fail the plan. Details in Combat Basics.
Respawn anchors in FFA
Respawn anchors extend your explosive toolkit and create area denial that is scarier in chaotic lobbies than in polite 1v1s. Practical rules:
- Charge and place anchors where enemies want to stand, not where you are already stuck.
- Treat anchors like timed investments tied to the five-minute reset — late-cycle anchors disappear with the map.
- Use anchors to cut off retreat routes after a crystal softens someone.
- Never stack your entire living space inside your own anchor blast if totems are down.
Anchors are tempo tools. If the lobby ignores the area, rotate — do not worship a failed site.
Totems, gapples, and living through your own kit
Crystal kits often play closer to the blast than Sword users. Survival stack:
- Totems — expect to pop; the pop is a reset, not a green light to place two more crystals in the same hole.
- Golden apples — eat before the place-detonate sequence if you are already chipped.
- Ender pearls — the real rank-up skill; pearl out on the same beat as detonation when the math is tight.
- Shields — sometimes block the leftover melee after the boom, not the explosion itself.
Hotbar order should put crystals, anchors, gapple, pearl, and totem on muscle-memory slots. If you still misclick, fix binds on Controls before blaming balance.
Risk management unique to free-for-all
Duel crystal etiquette does not apply when twelve people can see your glow:
- Assume every crystal attracts a third party. Finish or leave within seconds.
- Do not crystal the middle of a five-player pile unless you have two totems and a pearl pre-aimed — even then, reconsider.
- Bounties on you mean play fewer flashy placements; farm edges.
- Killstreak / Super Mode players will greed into your site — bait them with a safe crystal, not a suicidal one.
- Map reset — stop building crystal arenas when the wipe is near; swap to opportunistic placements on remaining terrain.
The best crystal players in FFA look boring between detonations. They rotate, watch Players-style threat lists mentally, and only open the inventory fireworks when the numbers work.
Matchups and synergies
- Into Sword: punish linear rushes with side crystals; do not feet-crystal a shielded closer without an exit.
- Into Mace / Mace & Spear: delete height; crystal landing zones; force flat fights. See Mace PvP.
- Into Elytra & Rockets: save shots for landings; air chasing with crystals is usually a trap.
- Into TNT: contest map control; whoever shapes the bridge first often wins the explosive war.
- Into Archer: close with pearls and broken sightlines; long open crystal animations lose.
- Into Orbital Strike: do not stand in obvious clumps after your own boom; orbitals love post-detonation crowds.
Friendly reminder: TNT and Orbital can support a later crystal life by softening structures, but kit swapping mid-session should be intentional — read Kits and the Tier List.
Practice drills
- Place → detonate → pearl on empty terrain twenty times until the fingers agree.
- One crystal per fight rule for ten lives — no greed chains.
- Anchor + crystal only when you already have height or cover.
- Totem pop protocol — after every pop, camera check, then leave for five seconds before re-engaging.
- Review deaths: self-damage vs enemy aim vs third party. Tag each one honestly.
When drills feel stable, bring the kit into hotter lobbies and still leave after successful picks. Progression toward level 200, Prestige, and Divine crate flexes is slower if you average a self-kill every other life.
Keep Updates bookmarked for explosive balance changes, redeem Codes at the SHOP NPC when available, and use Wiki for official destinations. New accounts should still complete Getting Started before trying to main Crystal.
Crystal PvP in Kit PVP FFA rewards engineers, not only aggressors. Place with intent, detonate with a reason, spend the totem like money, and treat every glowing setup as a billboard that the entire server can read.
Frequently Asked Questions
Quick answers for Kit PVP FFA players.
Why is Crystal harder in FFA than in 1v1 crystal practice?
Every placement is public. Third parties collapse on glow, map resets delete setups, and twenty-player chaos punishes slow inventory mismanagement.
When should I detonate an end crystal?
Common windows are enemy gapples, elytra or mace landings, bridge crosses, and clumps. Detonate when you have an exit and the blast hits them more than you.
How do respawn anchors fit the kit?
Use anchors for area denial and to cut retreat paths after a crystal softens a target. Do not over-invest late in the five-minute map reset cycle.
What do I do after a totem pop?
Check your camera for third parties, pearl or walk out, and reset. A totem pop is a second chance—not a signal to place two more crystals in the same hole.
Which pages should I read with this crystal guide?
Controls for hotbar binds, Combat Basics for cooldown finishers, Kits and the Tier List for matchups, and Mace PvP to understand the vertical players you will be punishing.